안녕하세요 늑대양 입니다

Terraform 관련 기초 스터디(Terraform 101 Study)를 참여하게되어 해당 내용들을 주차별로 정리하고자 합니다.
해당 스터디는 CloudNet@ 팀의 Gasida 님이 호스트를 맡아주셨으며,
https://gasidaseo.notion.site/CloudNet-Blog-c9dfa44a27ff431dafdd2edacc8a1863
CloudNet@ Blog | Notion
CloudNet@ 팀에서 Cloud Infra & Network 기술에 대한 정보를 공유하는 블로그 입니다.
gasidaseo.notion.site
스터디 메인 material 은 "테라폼으로 시작하는 IaC" 도서를 기준으로 진행됩니다.
https://www.yes24.com/Product/Goods/119179333
테라폼으로 시작하는 IaC - 예스24
“현업에서 요구하는 진짜 IaC 사용법”테라폼으로 배우는 인프라 운영의 모든 것IaC는 효율적인 데브옵스와 클라우드 자동화 구축을 위해 꼭 필요한 기술로 각광받고 있다. 그중에서도 테라폼
www.yes24.com
아래의 내용은 1주차 - 기본 사용 1/3 내용을 다루고 있습니다.
1장. IaC와 테라폼
https://developer.hashicorp.com/terraform/intro
What is Terraform | Terraform | HashiCorp Developer
Terraform is an infrastructure as code tool that lets you build, change, and version cloud and on-prem resources safely and efficiently.
developer.hashicorp.com
https://www.hashicorp.com/products/terraform
HashiCorp Terraform - Provision & Manage any Infrastructure
Use infrastructure as code to consistently provision any cloud, infrastructure, and service.
www.hashicorp.com
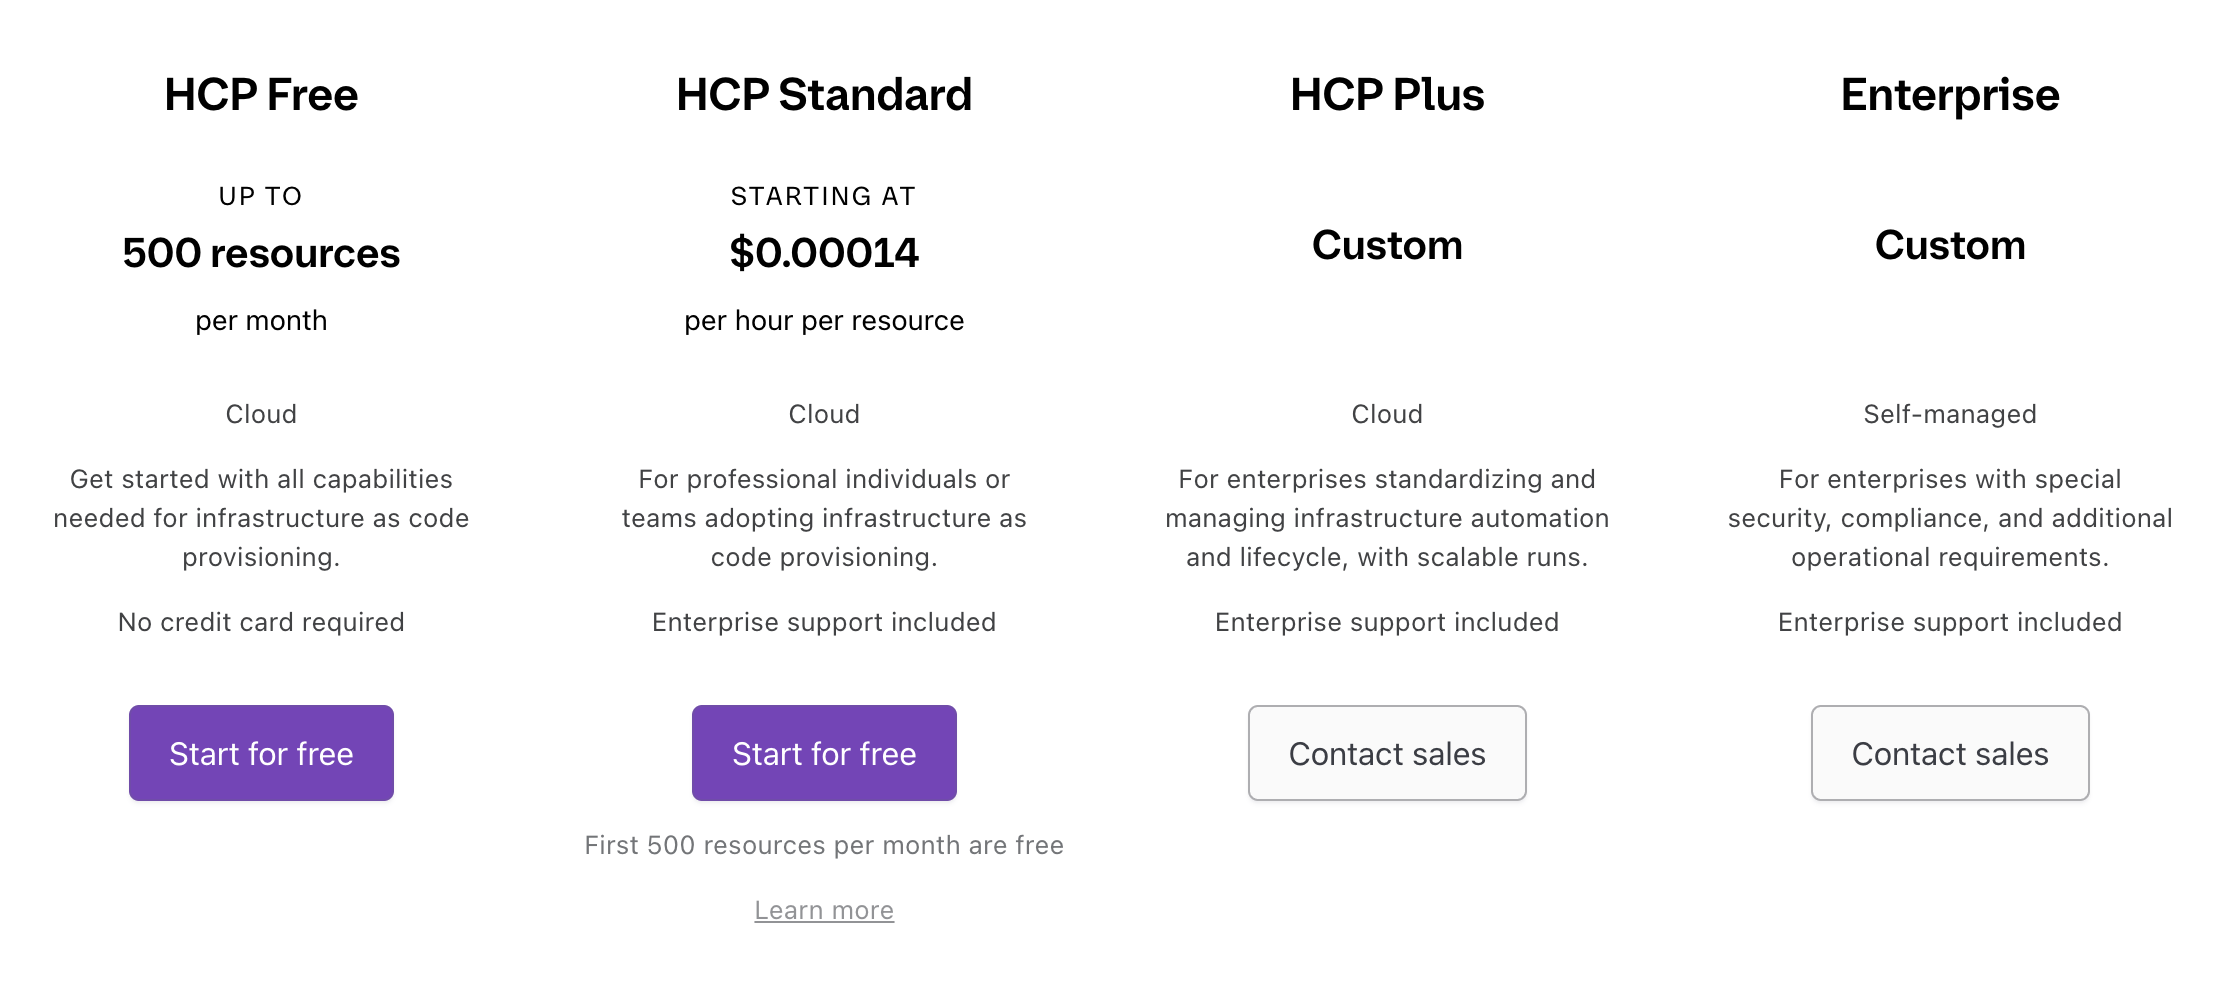
- 해당 내용과 관련하여 위의 두 HashiCorp 공식 링크를 참고 추천
- 특히 아래의 링크에서는 HCP 제품별 비교를 쉽게 확인 가능


2장. 실행환경 구성
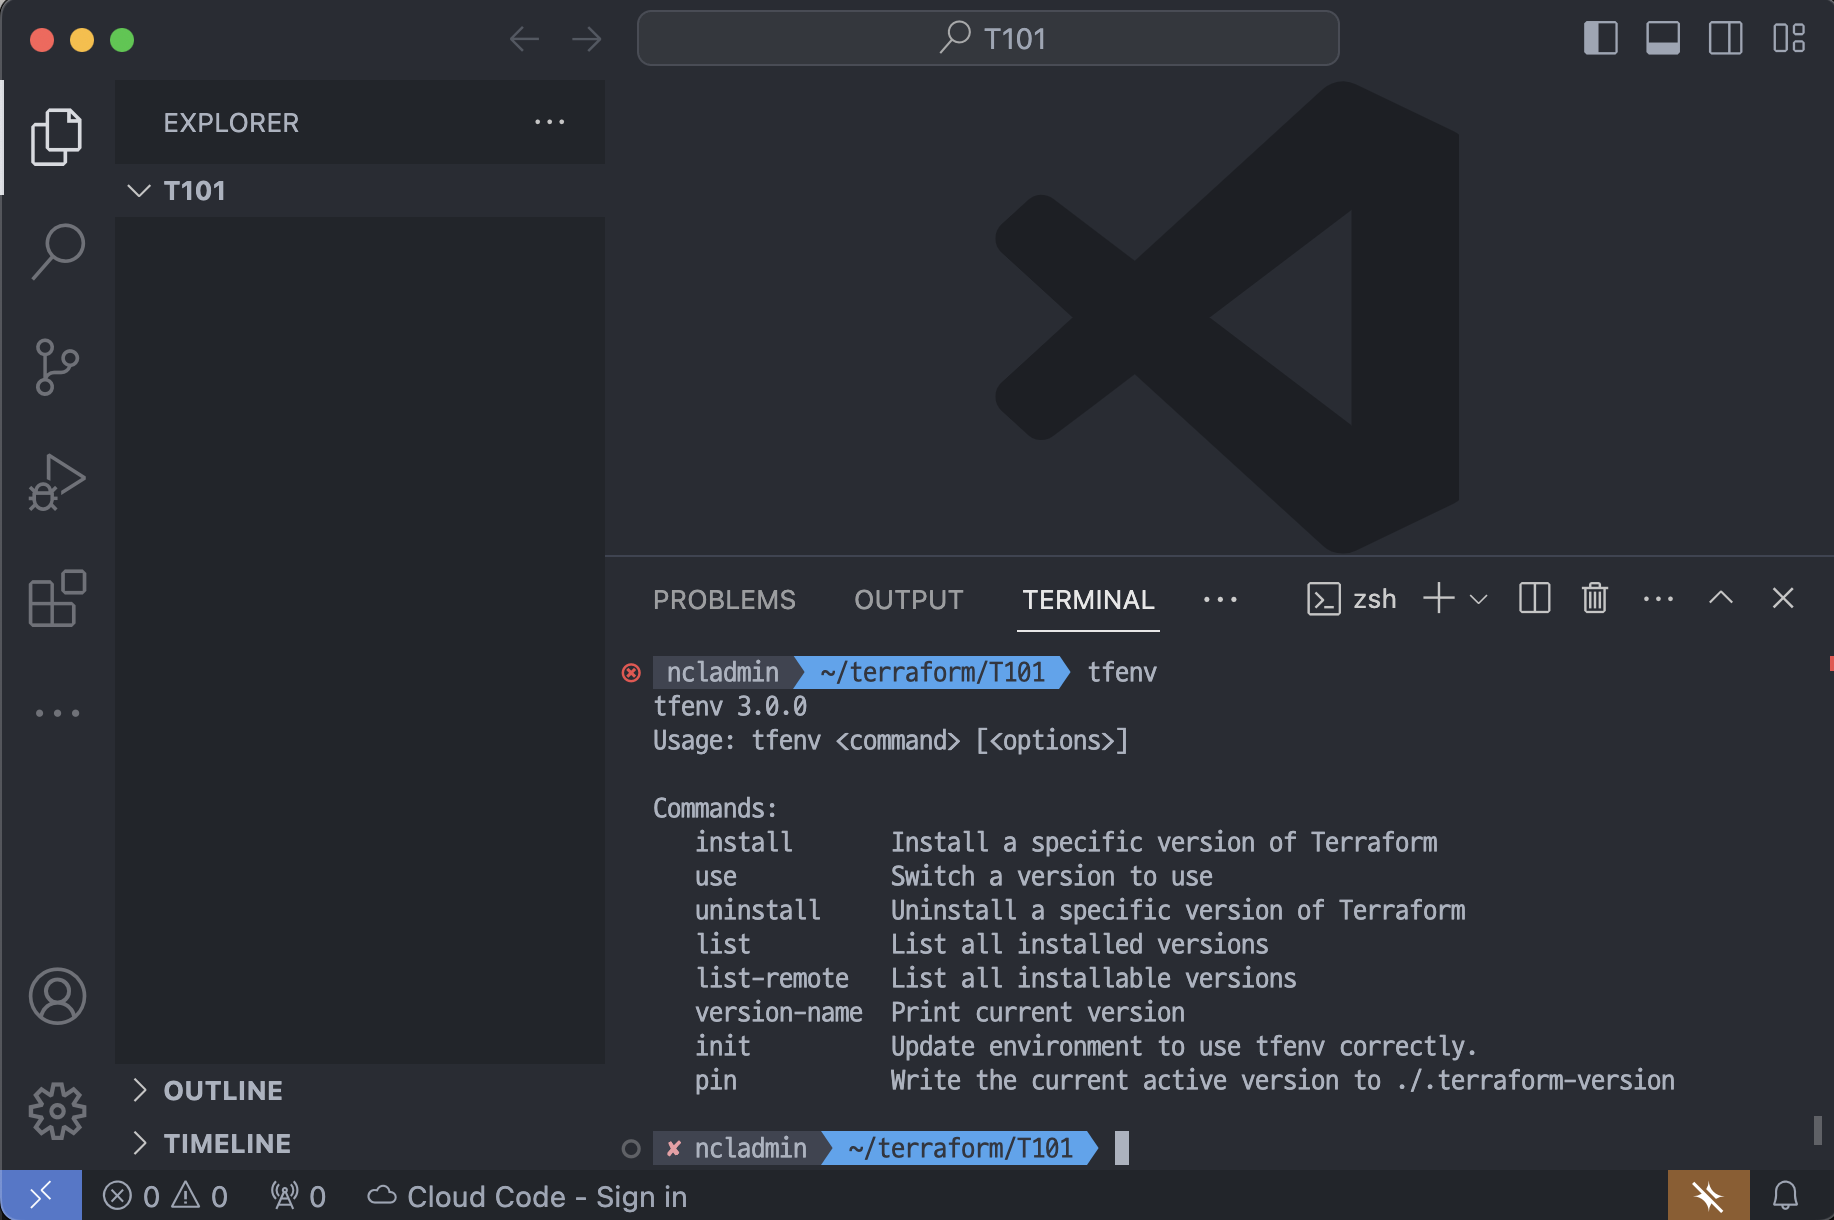
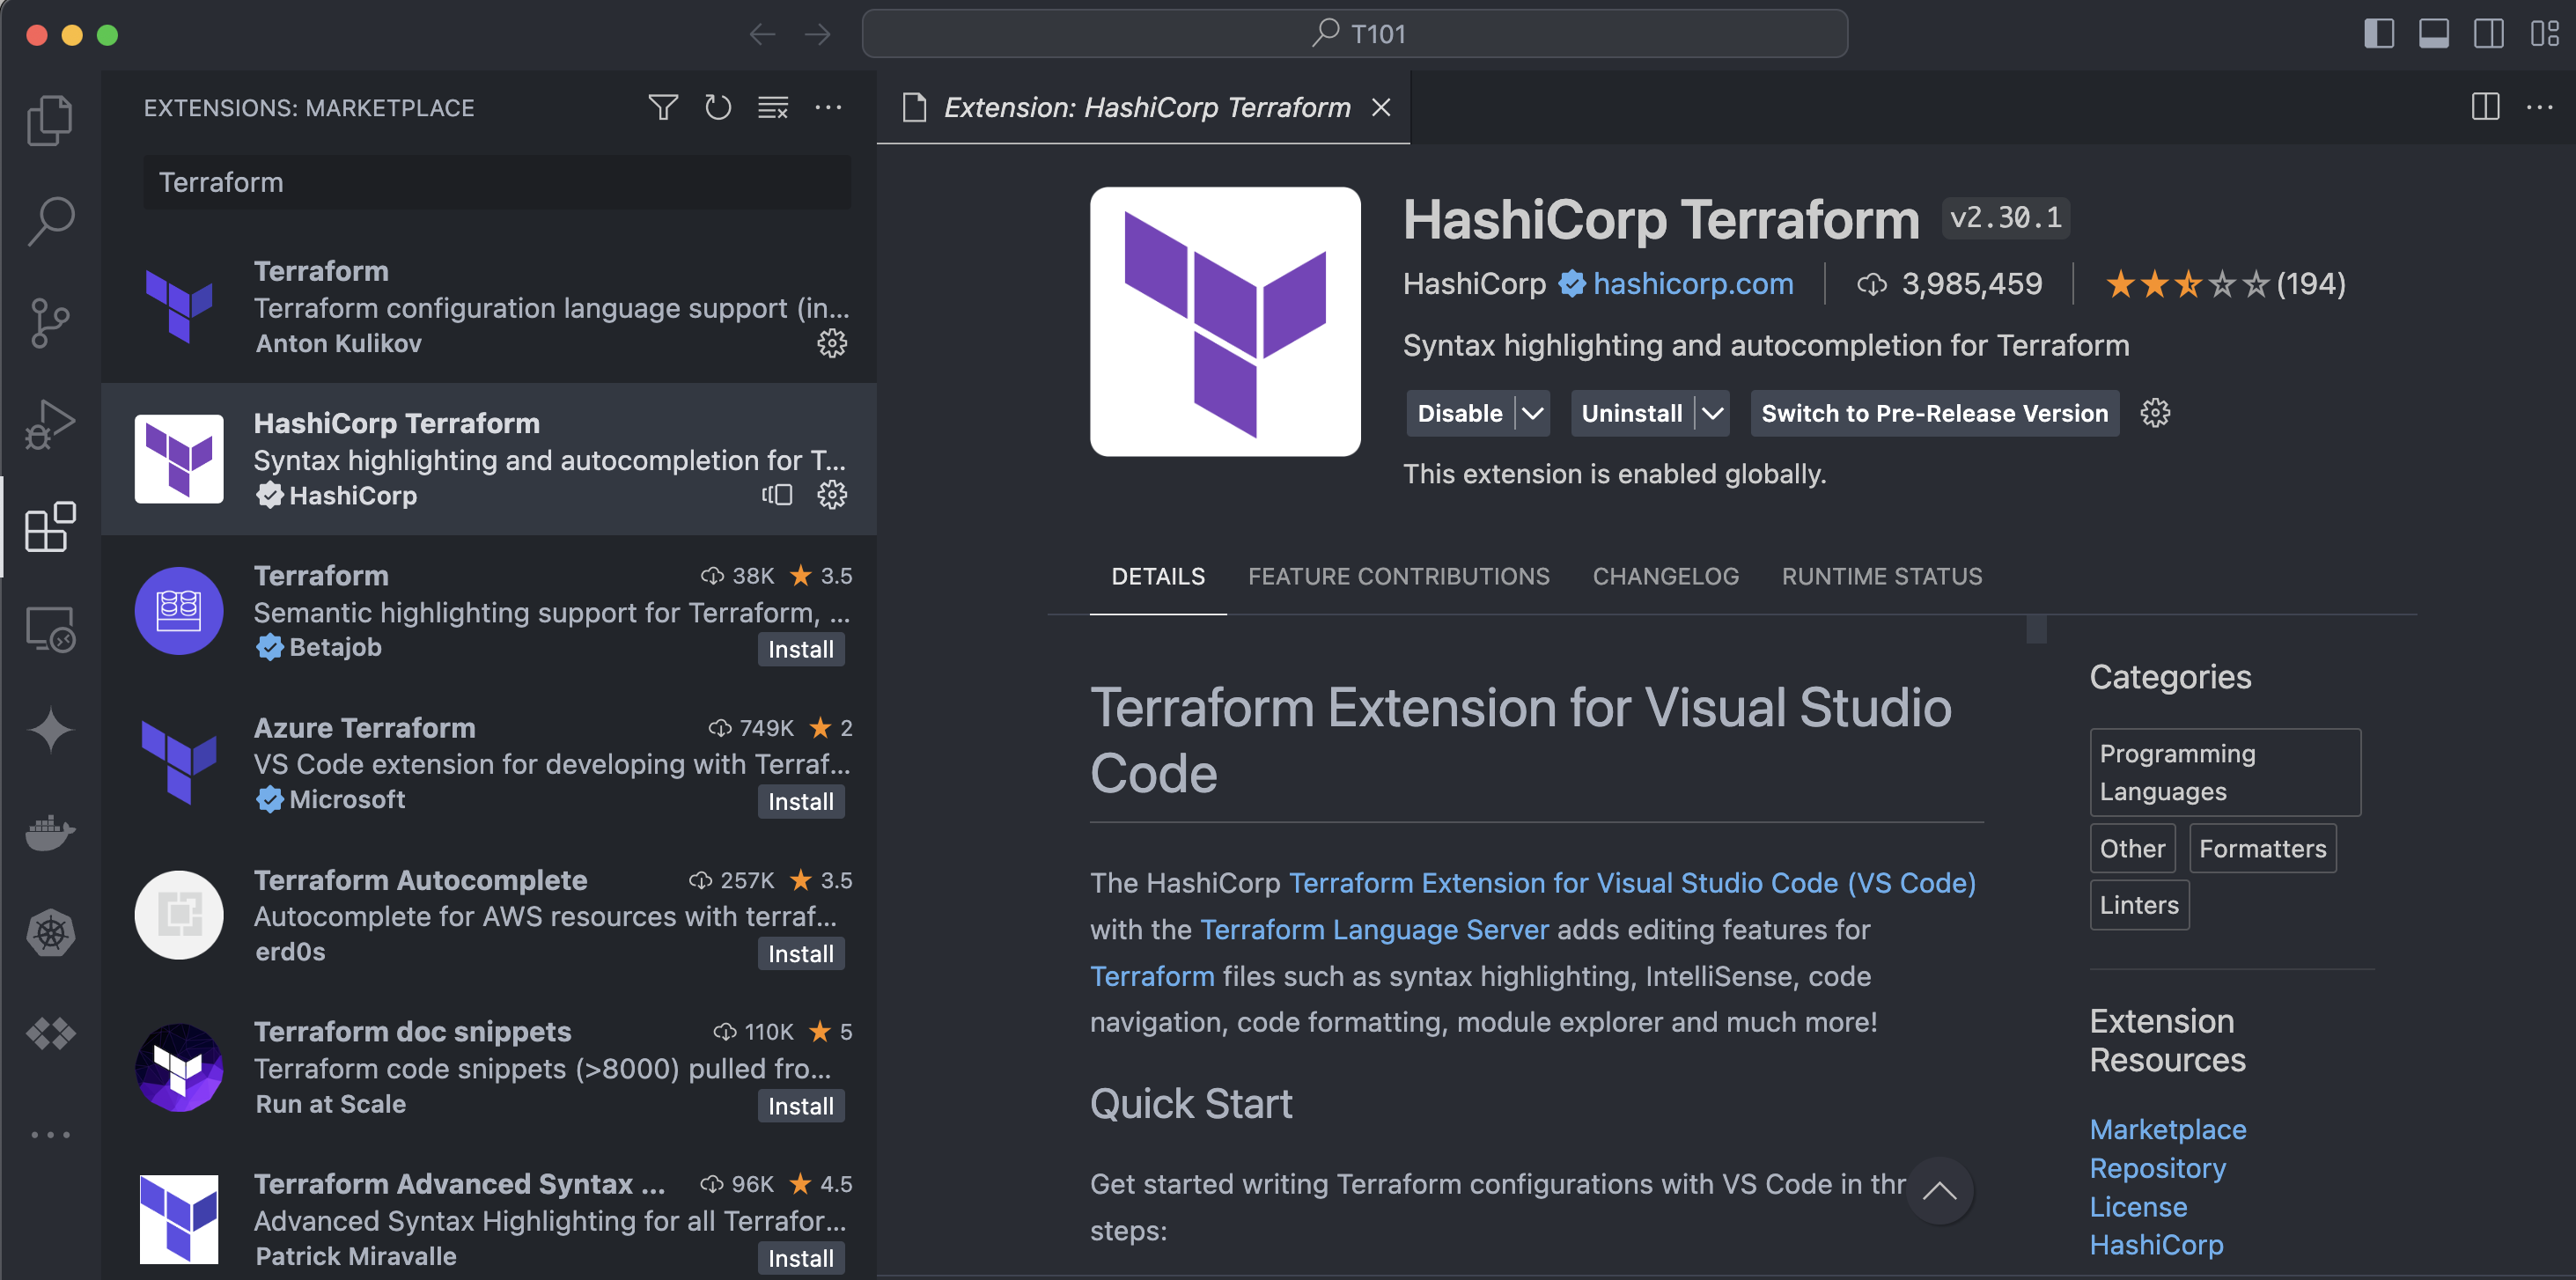
- Visual Studio Code
- tfenv


실습1. AWS CLI 설치 및 자격증명

실습. EC2 1대 배포
# Amazon Linux 2 최신 ami id 찾기
aws ec2 describe-images --owners amazon --filters "Name=name,Values=amzn2-ami-hvm-2.0.*-x86_64-gp2" "Name=state,Values=available" --query 'Images|sort_by(@, &CreationDate)[-1].[ImageId, Name]' --output text
> ami-0ebb3f23647161078   amzn2-ami-hvm-2.0.20240610.1-x86_64-gp2

# ami id 확인
aws ec2 describe-images --owners amazon --filters "Name=name,Values=amzn2-ami-hvm-2.0.*-x86_64-gp2" "Name=state,Values=available" --query 'Images|sort_by(@, &CreationDate)[-1].[ImageId]' --output text
> ami-0ebb3f23647161078

# 해당 내용 변수 담기
AL2ID=`aws ec2 describe-images --owners amazon --filters "Name=name,Values=amzn2-ami-hvm-2.0.*-x86_64-gp2" "Name=state,Values=available" --query 'Images|sort_by(@, &CreationDate)[-1].[ImageId]' --output text`

# 변수값 출력
echo $AL2ID
> ami-0ebb3f23647161078
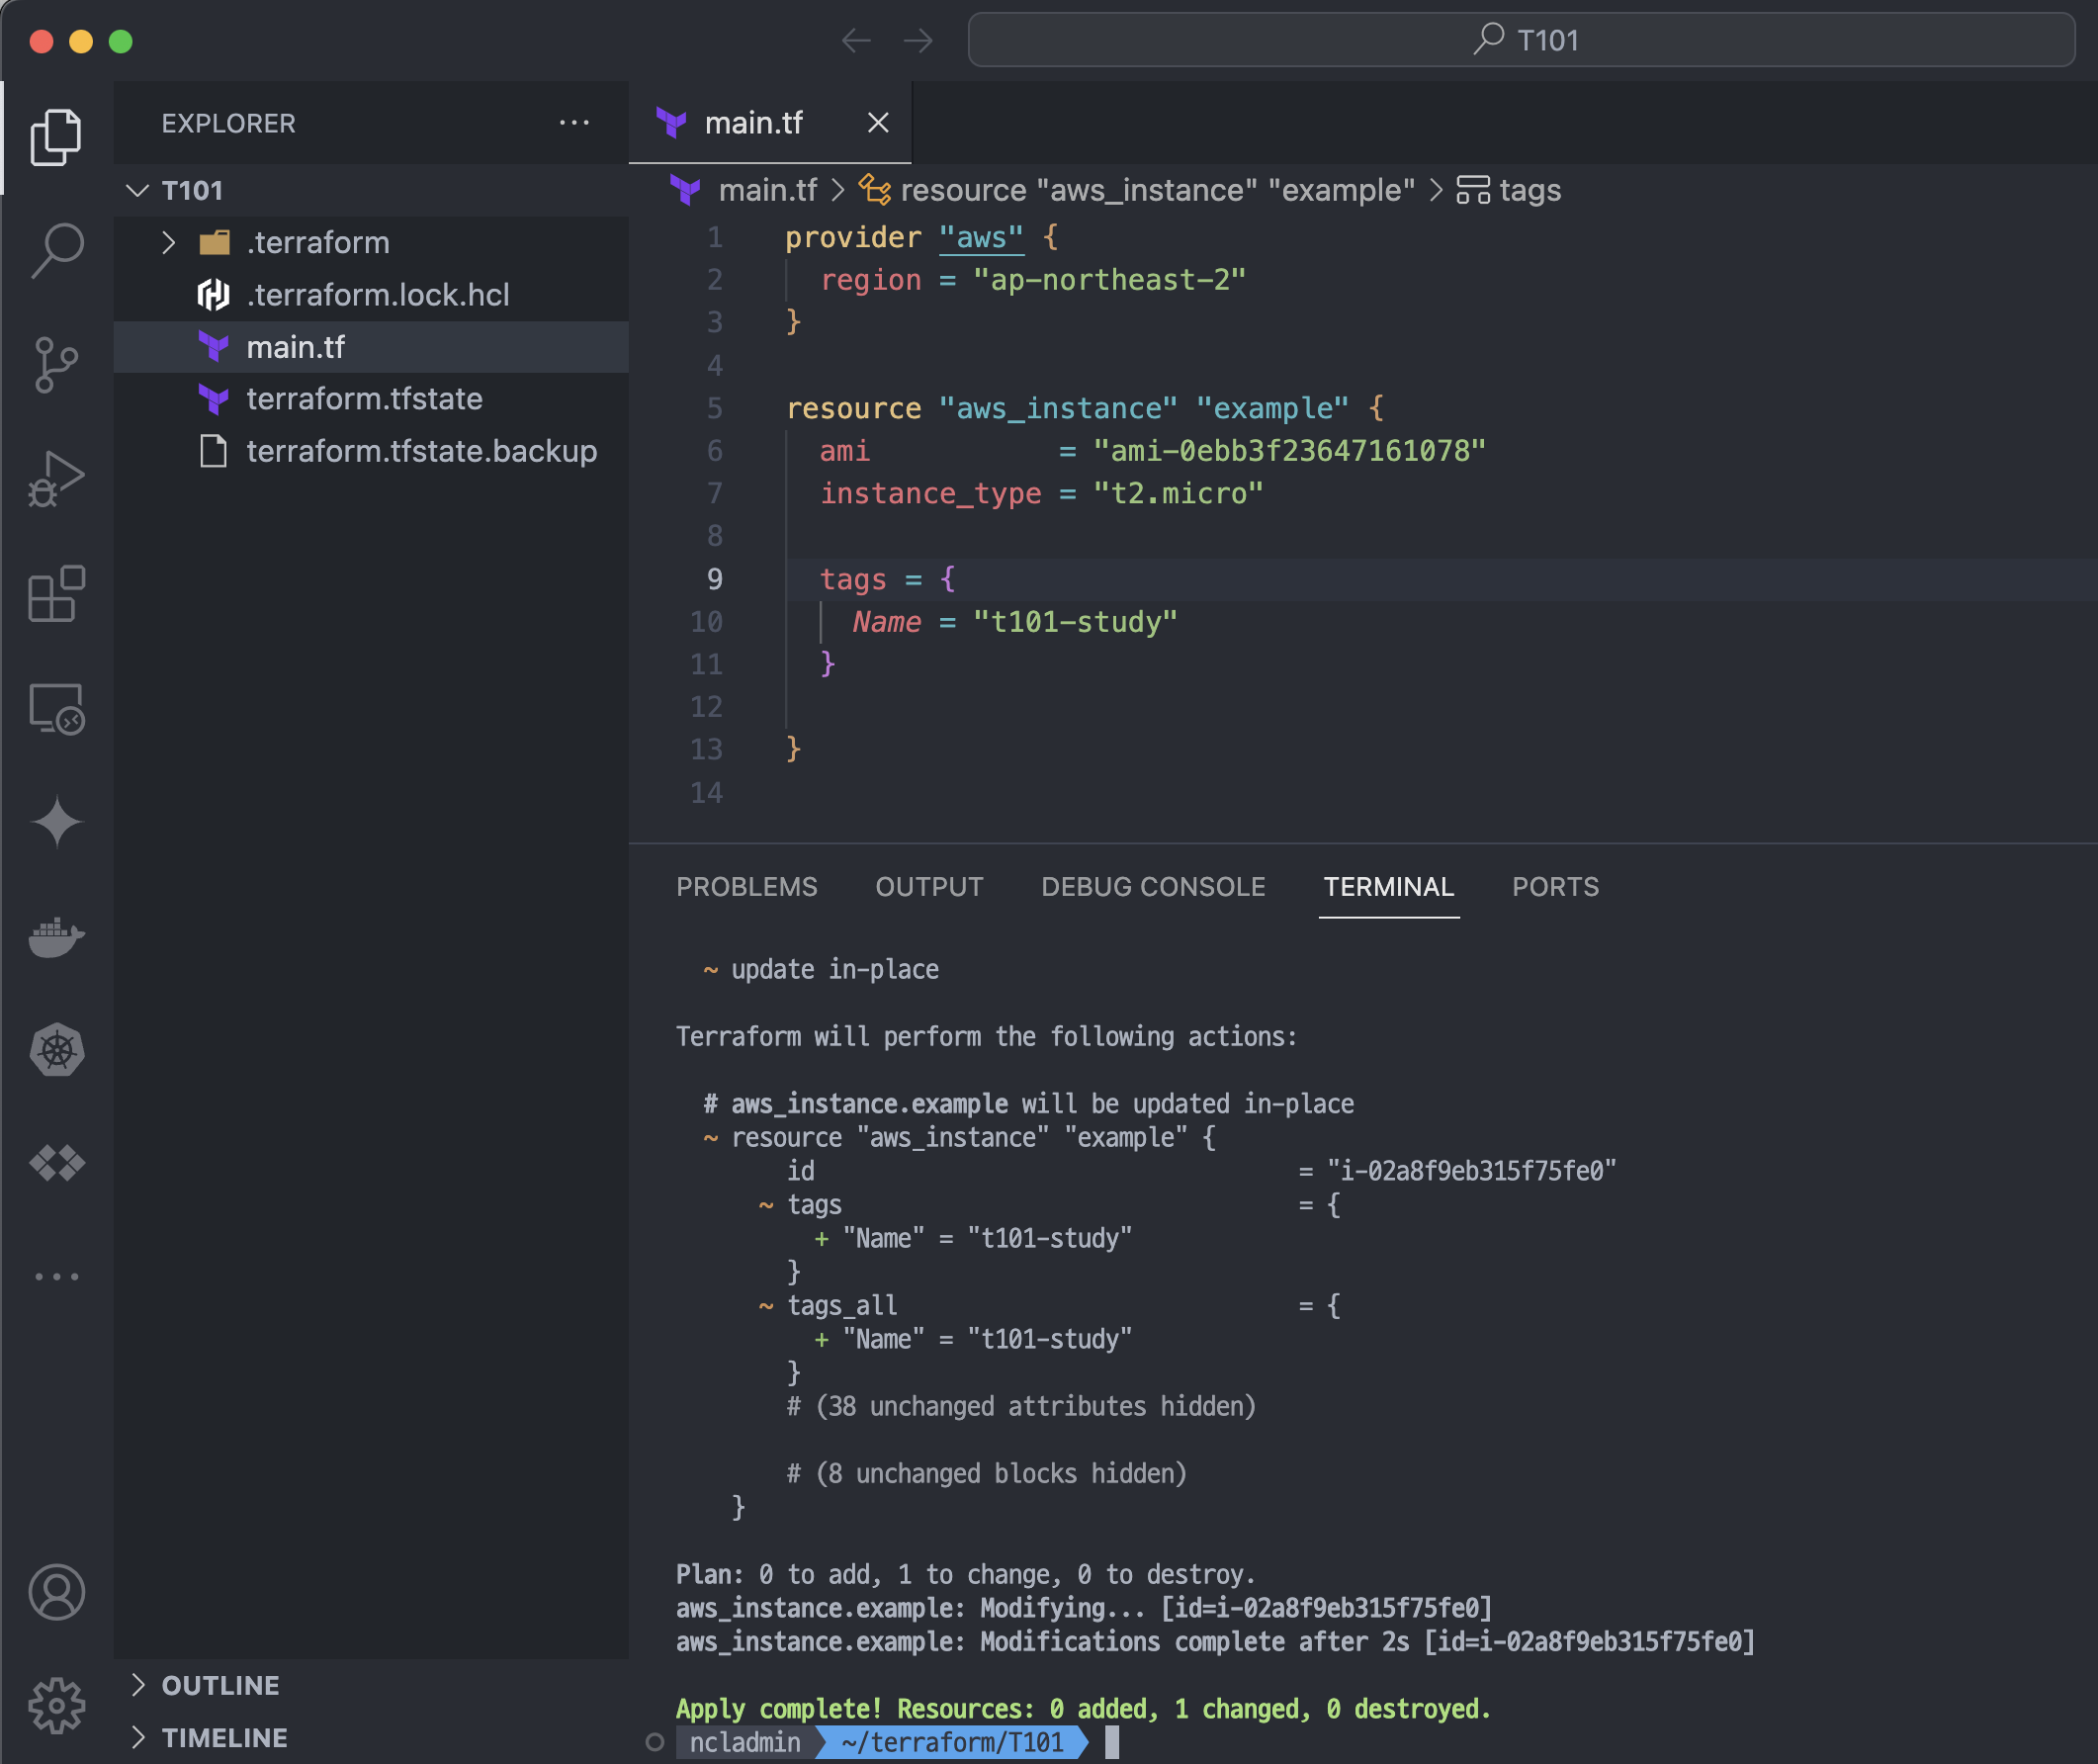
# EC2 배포 실습
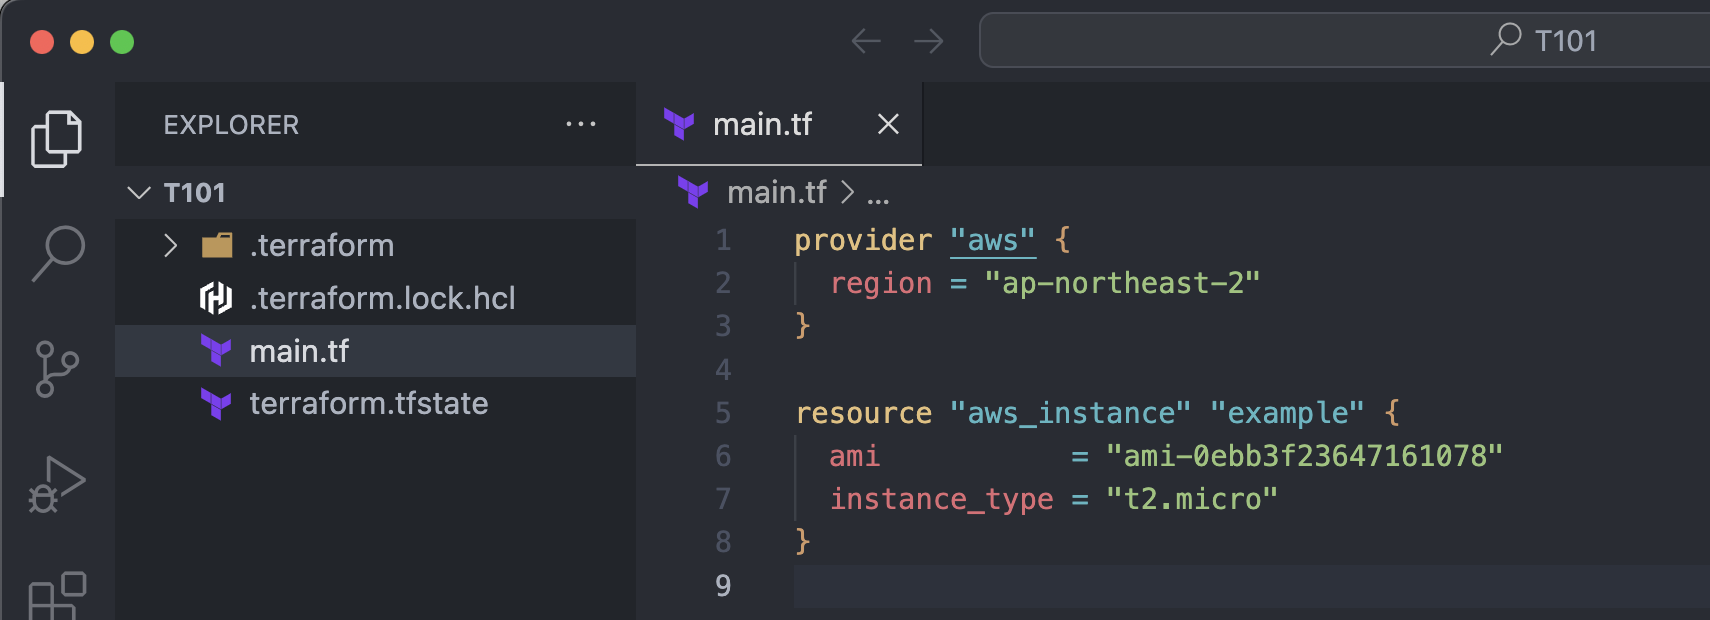
cat <<EOT > main.tf
provider "aws" {
  region = "ap-northeast-2"
}

resource "aws_instance" "example" {
  ami           = "$AL2ID"
  instance_type = "t2.micro"
}
EOT


# AMI 최신 이미지 가져오기 : 데이터소스 사용

# 방법1
data "aws_ssm_parameter" "amzn2_latest" {
  name = "/aws/service/ami-amazon-linux-latest/amzn2-ami-kernel-5.10-hvm-x86_64-gp2"
}

# 방법2
data "aws_ami" "linux" {
  owners      = ["amazon"]
  most_recent = true

  filter {
    name   = "name"
    values = ["amzn2-ami-hvm*"]
  }
}
resource "aws_instance" "aaaaaaaa" {
  ami                    = data.aws_ami.amazonlinux2.id

//...

  lifecycle {
    ignore_changes = [ami]
  }
}

# 방법3
data "aws_ami" "ubuntu" {
    most_recent = true

    filter {
        name   = "name"
        values = ["ubuntu/images/hvm-ssd/ubuntu-*-*-amd64-server-*"]
    }

    filter {
        name   = "virtualization-type"
        values = ["hvm"]
    }

    owners = ["099720109477"] # Canonical
}
3장. 기본 사용법
3.1 주요 커맨드
- 아래의 공식 링크 페이지를 참고하여 기본 사용법 내용을 확인 하는 것도 좋을 수 있습니다.
- init
- validate
- plan
- apply
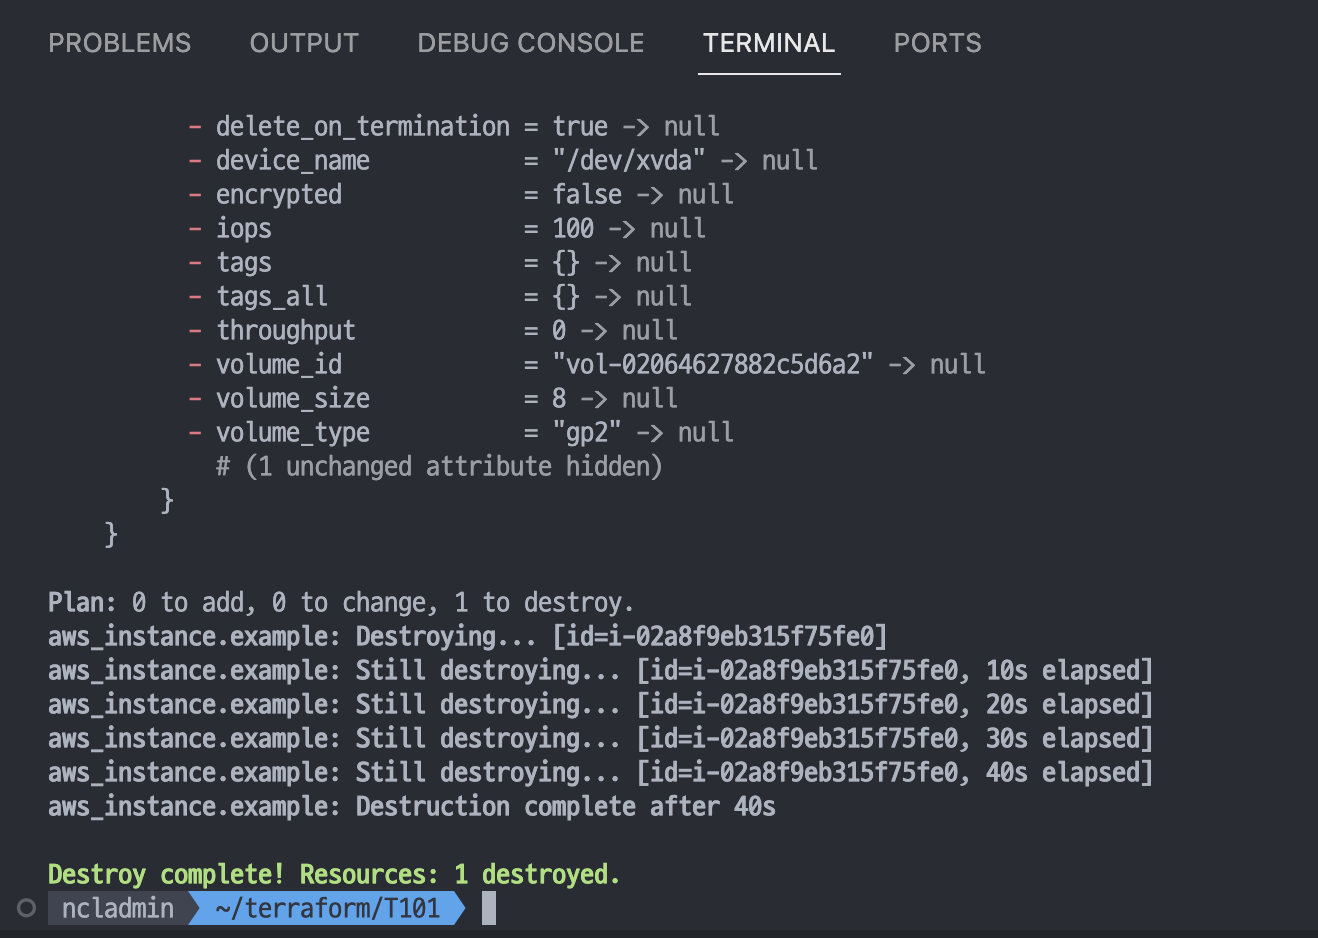
- destroy
- fmt
https://developer.hashicorp.com/terraform/cli/v1.1.x/commands/init
Command: init | Terraform | HashiCorp Developer
The terraform init command initializes a working directory containing configuration files and installs plugins for required providers.
developer.hashicorp.com
https://developer.hashicorp.com/terraform/cli/v1.1.x/commands/validate
Command: validate | Terraform | HashiCorp Developer
The `terraform validate` command is used to validate the syntax of the terraform files.
developer.hashicorp.com
https://developer.hashicorp.com/terraform/cli/v1.1.x/commands/plan
Command: plan | Terraform | HashiCorp Developer
The terraform plan command creates an execution plan with a preview of the changes that Terraform will make to your infrastructure.
developer.hashicorp.com
https://developer.hashicorp.com/terraform/cli/v1.1.x/commands/apply
Command: apply | Terraform | HashiCorp Developer
The terraform apply command executes the actions proposed in a Terraform plan to create, update, or destroy infrastructure.
developer.hashicorp.com
https://developer.hashicorp.com/terraform/cli/v1.1.x/commands/destroy
Command: destroy | Terraform | HashiCorp Developer
The terraform destroy command destroys all objects managed by a Terraform configuration.
developer.hashicorp.com
https://developer.hashicorp.com/terraform/cli/v1.1.x/commands/fmt
Command: fmt | Terraform | HashiCorp Developer
The terraform fmt command rewrites configuration files to a canonical format and style.
developer.hashicorp.com
실습. EC2 1대 배포 & 웹 서버 설정
# 실습 디렉토리 생성 및 접근
mkdir t101-1week-web
cd t101-1week-web

# Ubuntu 22.04 최신 AMI ID 확인
aws ec2 describe-images --owners 099720109477 \
    --filters "Name=name,Values=ubuntu/images/hvm-ssd/ubuntu-jammy-22.04-amd64-server-*" "Name=state,Values=available" \
    --query 'Images|sort_by(@, &CreationDate)[-1].[ImageId, Name]' --output text

> ami-0bcdae8006538619a   ubuntu/images/hvm-ssd/ubuntu-jammy-22.04-amd64-server-20240614

# 변수 설정
UBUNTUID=ami-0bcdae8006538619a

# tf 파일 작성
cat <<EOT > main.tf
provider "aws" {
  region = "ap-northeast-2"
}

resource "aws_instance" "example" {
  ami                    = "$UBUNTUID"
  instance_type          = "t2.micro"

  user_data = <<-EOF
              #!/bin/bash
              echo "Hello, T101 Study" > index.html
              nohup busybox httpd -f -p 8080 &
              EOF

  tags = {
    Name = "terraform-Study-101"
  }
}
EOT

# terraform 기본 명령어를 통한 리소스 배포 진행
tf init
tf plan
tf apply -auto-approve


# 8080 포트가 아닌 다른 포트로 변경하려면 어떻게 해야 될까?

# 9090 포트 변경 및 관련 보안그룹 업데이트 진행!

cat <<EOT > main.tf
provider "aws" {
  region = "ap-northeast-2"
}

resource "aws_instance" "example" {
  ami                    = "$UBUNTUID"
  instance_type          = "t2.micro"
  vpc_security_group_ids = [aws_security_group.instance.id]

  user_data = <<-EOF
              #!/bin/bash
              echo "Hello, T101 Study 9090" > index.html
              nohup busybox httpd -f -p 9090 &
              EOF

  user_data_replace_on_change = true

  tags = {
    Name = "Single-WebSrv"
  }
}

resource "aws_security_group" "instance" {
  name = var.security_group_name

  ingress {
    from_port   = 9090
    to_port     = 9090
    protocol    = "tcp"
    cidr_blocks = ["0.0.0.0/0"]
  }
}

variable "security_group_name" {
  description = "The name of the security group"
  type        = string
  default     = "terraform-example-instance"
}

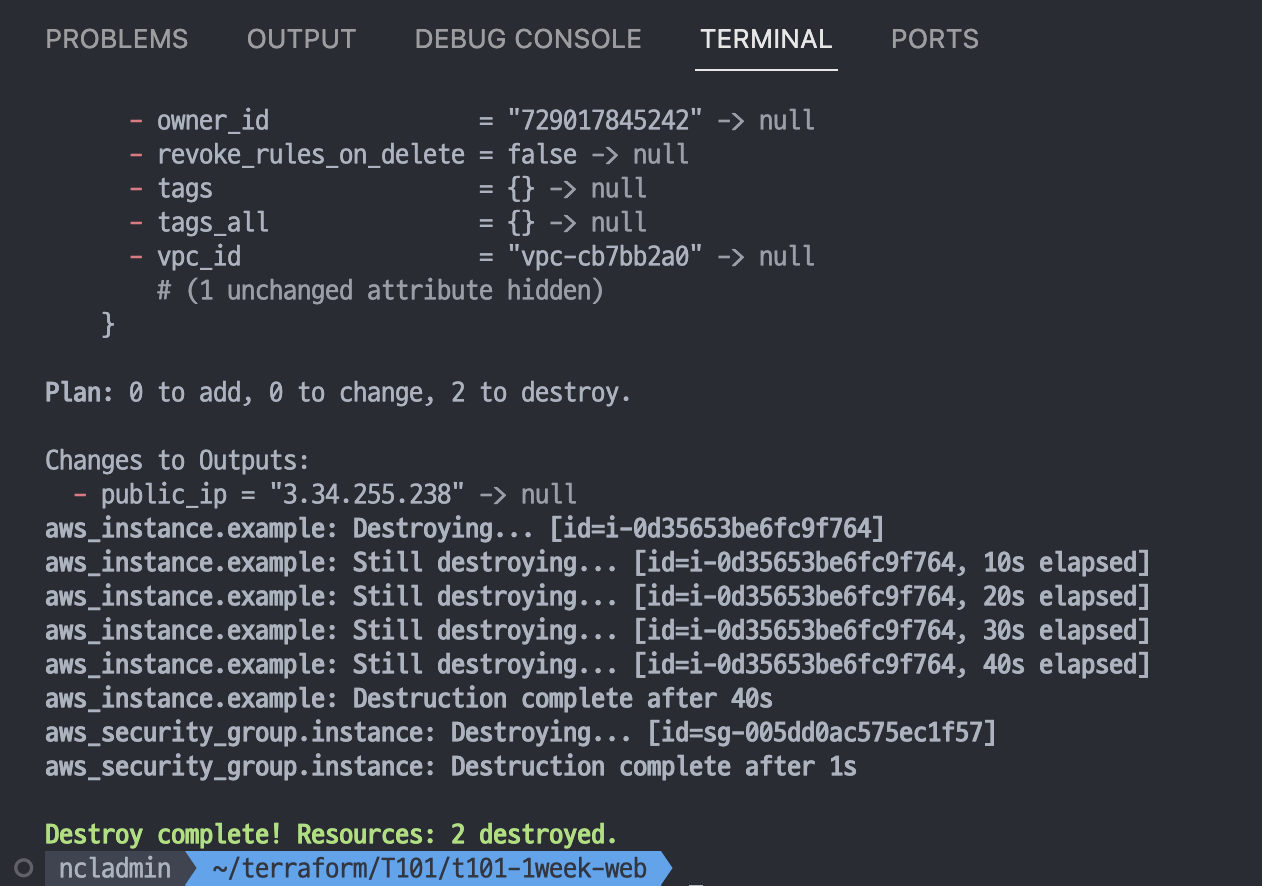
output "public_ip" {
  value       = aws_instance.example.public_ip
  description = "The public IP of the Instance"
}
EOT


3.2 HCL
https://developer.hashicorp.com/terraform/language/syntax/configuration
Syntax - Configuration Language | Terraform | HashiCorp Developer
Key constructs of the native Terraform language syntax, including identifiers, arguments, blocks, and comments.
developer.hashicorp.com
// 한줄 주석 방법1
# 한줄 주석 방법2

/*
라인
주석
*/

locals {
  key1     = "value1"     # = 를 기준으로 키와 값이 구분되며
  myStr    = "TF ♡ UTF-8" # UTF-8 문자를 지원한다.
  multiStr = <<EOF
  Multi
  Line
  String
  with anytext
EOF

  boolean1    = true   # boolean true
  boolean2    = false  # boolean false를 지원한다.
  deciaml     = 123    # 기본적으로 숫자는 10진수,
  octal       = 0123   # 0으로 시작하는 숫자는 8진수,
  hexadecimal = "0xD5" # 0x 값을 포함하는 스트링은 16진수,
  scientific  = 1e10   # 과학표기 법도 지원한다.

  # funtion 호출 예
  myprojectname = format("%s is myproject name", var.project)

  # 3항 연산자 조건문을 지원한다.
  credentials = var.credentials == "" ? file(var.credentials_file) : var.credentials
}
3.3 테라폼 블록
https://developer.hashicorp.com/terraform/language/settings
Terraform Settings - Configuration Language | Terraform | HashiCorp Developer
The terraform block allows you to configure Terraform behavior, including the Terraform version, backend, integration with HCP Terraform, and required providers.
developer.hashicorp.com
  required_version = "~> 1.3.0" # 테라폼 버전

  required_providers { # 프로바이더 버전을 나열
    random = {
      version = ">= 3.0.0, < 3.1.0"
    }
    aws = {
      version = "4.2.0"
    }
  }

  cloud { # Cloud/Enterprise 같은 원격 실행을 위한 정보
    organization = "<MY_ORG_NAME>"
    workspaces {
      name = "my-first-workspace"
    }
  }

  backend "local" { # state를 보관하는 위치를 지정
    path = "relative/path/to/terraform.tfstate"
  }
}
https://developer.hashicorp.com/terraform/language/v1.1.x/providers/configuration
Provider Configuration - Configuration Language | Terraform | HashiCorp Developer
Learn how to set up providers, including how to use the alias meta-argument to specify multiple configurations for a single provider.
developer.hashicorp.com
- Provider 에 대한 기본 설명 및 아래의 내용을 확인 가능한 공식 docs 링크
- Provider configuration
- Multiple Provider configurations
3.4 리소스
https://developer.hashicorp.com/terraform/language/resources
Resources Overview - Configuration Language | Terraform | HashiCorp Developer
Resources describe infrastructure objects in Terraform configurations. Find documentation for resource syntax, behavior, and meta-arguments.
developer.hashicorp.com
resource "<리소스 유형>" "<이름>" {
  <인수> = <값>
}

resource "local_file" "abc" {
  content  = "123"
  filename = "${path.module}/abc.txt"
}

# 프로바이더 종속적인 리소스 블록
# main.tf
resource "local_file" "abc" {
  content  = "123"
  filename = "${path.module}/abc.txt"
}

resource "aws_instance" "web" {
  ami = "ami-a1b2c3d4"
  instance_type = "t2.micro"
}
리소스 동작 보조 추가 메타인수
- depends_on : 종속성을 선언하며, 선언된 구성요소와의 생성 시점에 대해 정의
- count : 선언된 개수에 따라 여러 리소스를 생성
- for_each : map 또는 set 타입의 데이터 배열의 값을 기준으로 여러 리소스를 생성
- provider : 동일한 프로바이더가 다수 정의되어 있는 경우 지정
- lifecycle : 리소스의 수명주기 관리
- provisioner : 리소스 생성 후 추가 작업 정의
- timeouts : 프로바이더에서 정의한 일부 리소스 유형에서는 create, update, delete에 대한 허용 시간 정의 가능
# 리소스 속성 참조

# Terraform Code
resource "<리소스 유형>" "<이름>" {
  <인수> = <값>
}

# 리소스 참조
<리소스 유형>.<이름>.<인수>
<리소스 유형>.<이름>.<속성>
Lifecycle
https://developer.hashicorp.com/terraform/language/meta-arguments/lifecycle
The lifecycle Meta-Argument - Configuration Language | Terraform | HashiCorp Developer
The meta-arguments in a lifecycle block allow you to customize resource behavior.
developer.hashicorp.com
- lifecycle은 리소스의 기본 수명주기를 작업자가 의도적으로 변경하는 메타인수
- 메타인수 내에는 아래의 내용처럼 선언 가능
- create_before_destroy (bool): 리소스 수정 시 신규 리소스를 우선 생성하고 기존 리소스를 삭제
- prevent_destroy (bool): 해당 리소스를 삭제 Destroy 하려 할 때 명시적으로 거부
- ignore_changes (list): 리소스 요소에 선언된 인수의 변경 사항을 테라폼 실행 시 무시
- precondition: 리소스 요소에 선언해 인수의 조건을 검증
- postcondition: Plan과 Apply 이후의 결과를 속성 값으로 검증
지금까지 Terraform 101 Study 1주차 내용이었습니다
테라폼을 학습하시는 분들에게 도움이 되었으면 좋을 것 같습니다 🤗
긴 글 읽어주셔서 감사드립니다
6월도 벌써 절반이 지났네요
좋은 주말 보내세요!!
감사합니다 😍
'Terraform' 카테고리의 다른 글
| Terraform 101 Study - 3주차 (0) | 2024.06.30 |
|---|---|
| Terraform 101 Study - 2주차 (0) | 2024.06.23 |
| [Terraform] 2장. 왜 테라폼인가? (77~82p) (0) | 2021.07.13 |
| [Terraform] 2장. 왜 테라폼인가? (61~76p) (0) | 2021.07.13 |
| [Terraform] 2장. 왜 테라폼인가? (45~60p) (0) | 2021.07.12 |

